2024-01-11
Handling window resizing behavior in visionOS
How to adapt window resizing behavior in your spatial app
Contents
- Introduction
- Getting started
- Add
AppDelegateandSceneDelegate - Window resizing options
- Handling window resizing
- That's all
Introduction
Apple's new platform, visionOS, is second to macOS in allowing you to resize windows without any restrictions. This introduces new challenges in developing responsive UI interfaces. In this blog post, we will go over how you can adapt the behavior of your app's windows.
Disclaimer: This blog post assumes you have basic iOS development knowledge.
Getting started
First, let's create a new Xcode project. From the visionOS tab, choose 'App.'
Then, give your app a name and configure the project as shown below:
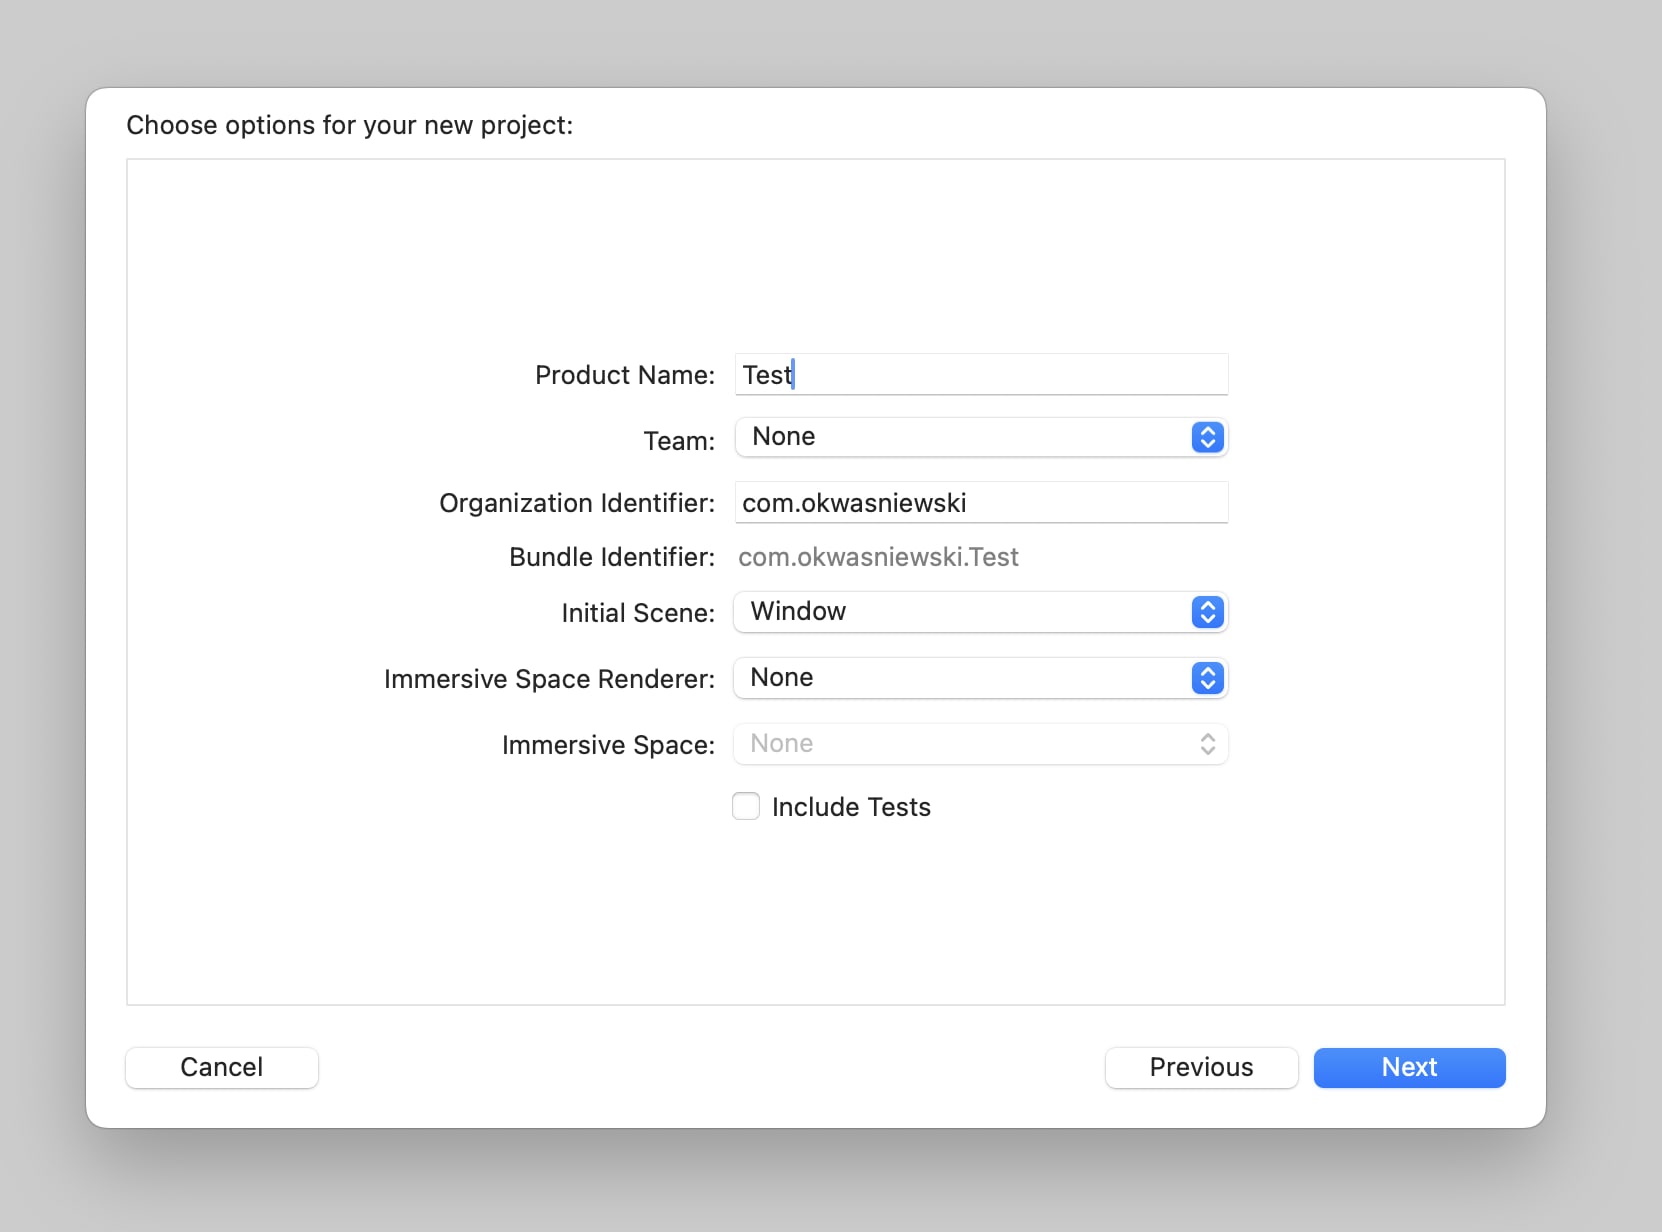
If you are using React Native visionOS with SwiftUI integration (or already have an app), you can skip this step.
Add AppDelegate and SceneDelegate
If you are porting an existing UIKit app to visionOS, you should already have AppDelegate and SceneDelegate; however, for SwiftUI projects, these are not created automatically.
To create them, click 'File' > 'New' and then create AppDelegate.swift.
class AppDelegate: NSObject, UIApplicationDelegate {
    var window: UIWindow?

    func application(_ application: UIApplication, configurationForConnecting connectingSceneSession: UISceneSession, options: UIScene.ConnectionOptions) -> UISceneConfiguration {
        let sceneConfig = UISceneConfiguration(name: nil, sessionRole: connectingSceneSession.role)
        return sceneConfig
    }
}
In this class you need to implement one method application(_:configurationForConnecting:options:) create a new UISceneConfiguration and return it, we will get back to this.
Next, let's create SceneDelegate:
class SceneDelegate: NSObject, UIWindowSceneDelegate {
  var window: UIWindow?
}
We will implement necessary methods in the next section.
Set UISceneConfiguration delegate to be our newly created SceneDelegate class:
class AppDelegate: NSObject, UIApplicationDelegate {
    func application(_ application: UIApplication, configurationForConnecting connectingSceneSession: UISceneSession, options: UIScene.ConnectionOptions) -> UISceneConfiguration {
        let sceneConfig = UISceneConfiguration(name: nil, sessionRole: connectingSceneSession.role)
        sceneConfig.delegateClass = SceneDelegate.self
        return sceneConfig
    }
}
Using @UIApplicationDelegateAdaptor property wrapper, we can now use our AppDelegate class in SwiftUI.
@main
struct WindowResizingApp: App {
    @UIApplicationDelegateAdaptor var delegate: AppDelegate

    var body: some Scene {
        WindowGroup {
            ContentView()
        }
    }
}
Window resizing options
Now let's discuss the available resizing options that we have:
public enum ResizingRestrictions {
	case none
	case uniform
	case freeform
}
uniform
Allows users to resize your windows in an uniform way
freeform
Default setting, users can resize the window however they want
none
Prevents users from resizing your window
Handling window resizing
Now it's time to implement scene resizing. Let's return to the empty SceneDelegate we created earlier and implement the scene(_:willConnectTo:options:) method.
class SceneDelegate: NSObject, UIWindowSceneDelegate {
  var window: UIWindow?

  func scene(_ scene: UIScene, willConnectTo session: UISceneSession, options connectionOptions: UIScene.ConnectionOptions) {
	guard let windowScene = (scene as? UIWindowScene) else { return }

	let preferences = UIWindowScene.GeometryPreferences.Vision()
	preferences.resizingRestrictions = UIWindowScene.ResizingRestrictions.uniform // Set it to none or uniform
	windowScene.requestGeometryUpdate(preferences)
  }
}
In the snippet above, I'm creating a new UIWindowScene.GeometryPreferences.Vision() class and setting its resizingRestrictions property to one of the options specified in the ResizingRestrictions enum.
Calling windowScene.requestGeometryUpdate(preferences) allows the maintenance of the specified geometry preference.
That's all
Thanks for reading! I hope you found this article useful. If you have any questions or feedback feel free to reach out to me on Twitter.